VLLM源码安装运行示例
vLLM 是一个高性能的大语言模型推理和服务库,专注于提供快速、易用、低成本的LLM服务。它采用PagedAttention 技术高效管理注意力的键值内存,支持连续批处理,并提供了多种优化手段。
使用vLLM 可以通过快速安装可运行版本,也可以使用源码开发模式。本文记录了从源码安装运行 vLLM 的示例,以及一些踩坑教程。
1 环境配置
首先要确定自己使用的vLLM版本,再去搜对应的环境要求,否则装完环境发现不是自己想要的版本就会很麻烦。这里是可以成功安装运行的搭配。下面用环境2举例。
| vLLM | CUDA | PyTorch | Python | |
|---|---|---|---|---|
| 环境1 | 0.6.4.post1 | 11.8 | 2.5.1+cu124 | 3.10.8 |
| 环境2 | 0.10.1 | 12.1 | 3.10.8 |
如果CUDA版本不匹配,可以通过以下方式卸载重装:
1
2
3
4
5
6
7
8
9
10
11
12
13
14
15
16
17
18
19
20
21
# 检查 CUDA 驱动版本
nvidia-smi

# 查看当前CUDA版本
nvcc --version

# 卸载旧版本 CUDA(可选但推荐)
sudo apt-get --purge remove "*cublas*" "cuda*" "nsight*"
sudo apt-get autoremove

# 安装新版本 CUDA(Ubuntu 22.04, CUDA 12.1)
wget https://developer.download.nvidia.com/compute/cuda/12.1.105/local_installers/cuda_12.1.0_530.30.02_linux.run
sudo sh cuda_12.1.105_530.30.02_linux.run --toolkit --silent

# 设置环境变量
echo 'export PATH=/usr/local/cuda-12.1/bin:$PATH' >> ~/.bashrc
echo 'export LD_LIBRARY_PATH=/usr/local/cuda-12.1/lib64:$LD_LIBRARY_PATH' >> ~/.bashrc
source ~/.bashrc

# 安装对应 PyTorch
pip install torch torchvision torchaudio --index-url https://download.pytorch.org/whl/cu121
验证 PyTorch:
1
python -c "import torch; print(torch.cuda.is_available(), torch.version.cuda, torch.__version__)"
2 安装
1
2
3
4
5
6
7
8
9
10
11
12
13
14
15
16
17
# 1. 克隆所需版本仓库
git tag
git checkout v0.10.1
cd vllm

# 1. 创建并激活虚拟环境(可选)
python3 -m venv vllmenv
source vllmenv/bin/activate

# 3. 安装依赖(不确定是否必需)
sudo apt update
sudo apt install -y ninja-build cmake git g++ python3-dev
pip install numpy wheel setuptools

# 4. 编译
export VLLM_USE_PRECOMPILED=1
pip install -e .
检查是否安装成功:
1
python -c "import vllm; print(f'vLLM version: {vllm.__version__}')"
3 运行
可以用一个最小模型(如 facebook/opt-125m)测试:
1
python3 -m vllm.entrypoints.openai.api_server --model facebook/opt-125m
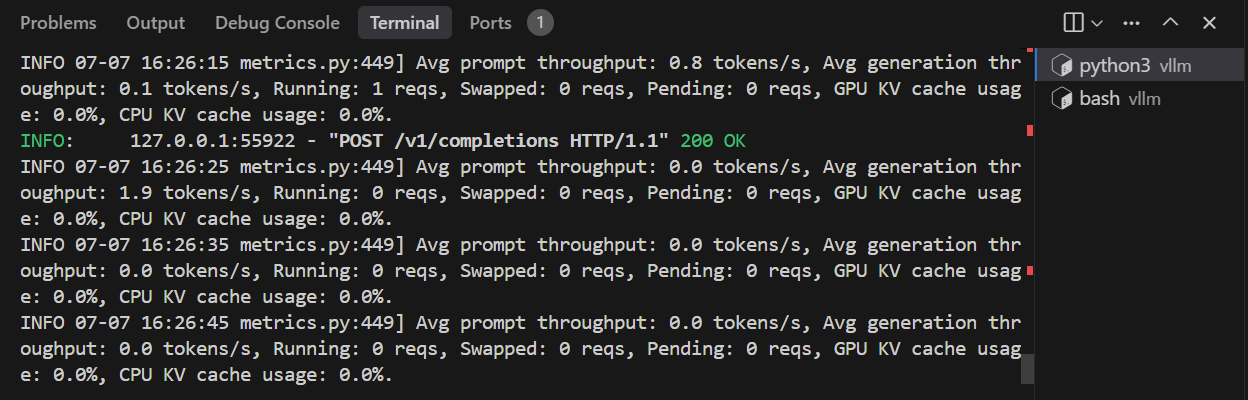
运行成功后会启动一个本地 HTTP 接口,默认监听 http://localhost:8000/v1/chat/completions。可以测试一下:
1
2
3
4
5
6
7
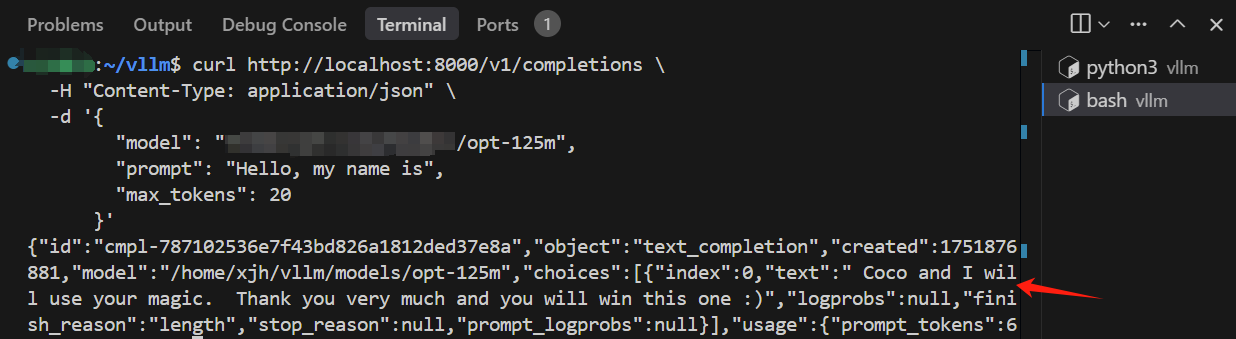
curl http://localhost:8000/v1/completions \
-H "Content-Type: application/json" \
-d '{
"model": "facebook/opt-125m",
"prompt": "Hello, my name is",
"max_tokens": 20
}'
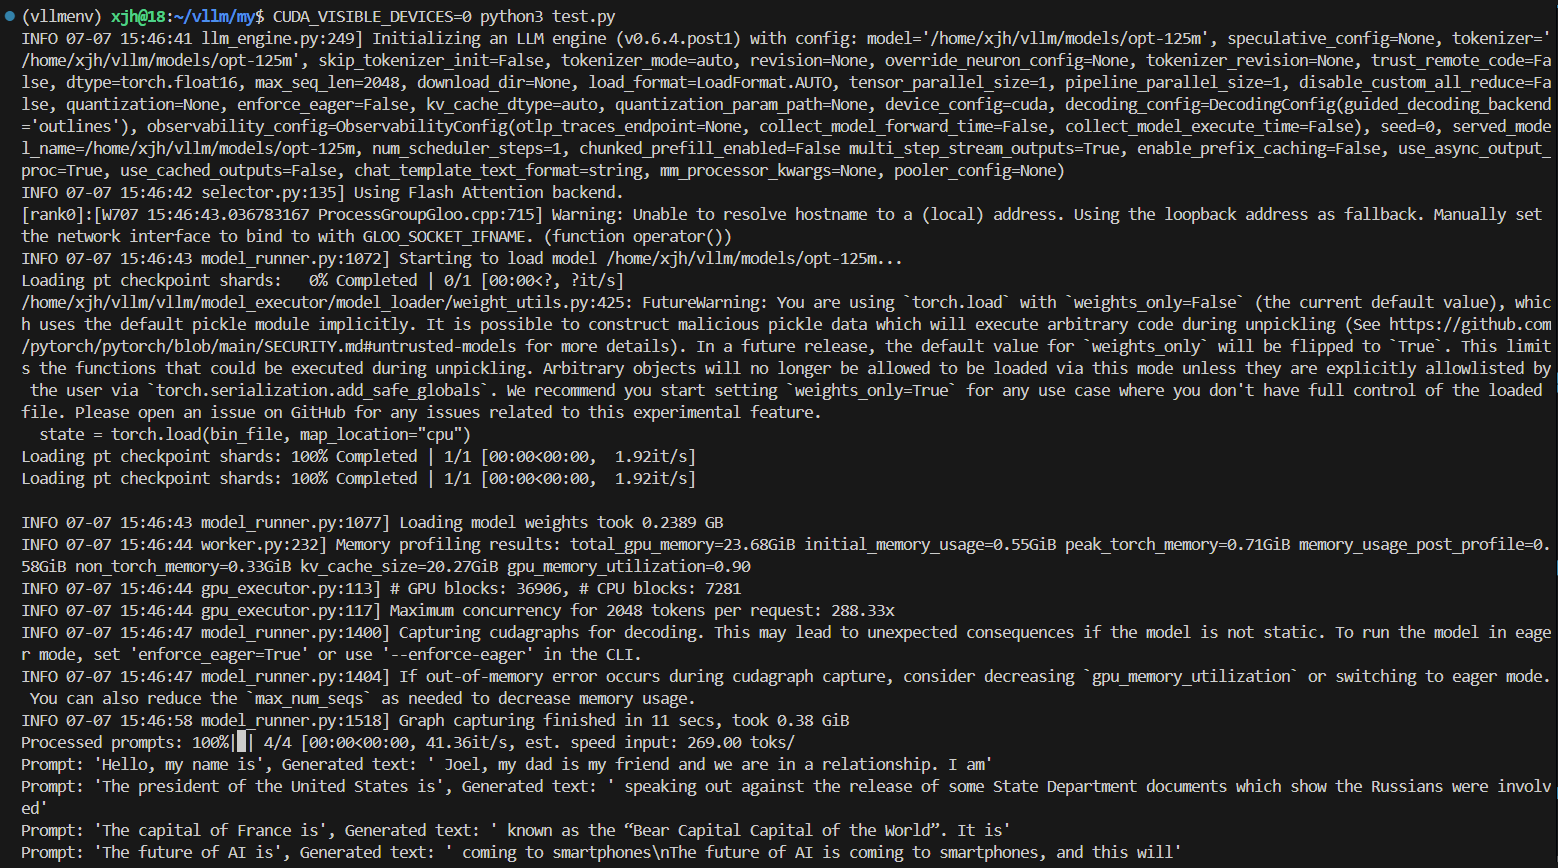
在 /examples 中也有很多示例,可以直接运行最简单的 offline_inference.py 测试:
1
2
3
4
5
6
7
8
9
10
11
12
13
14
15
16
17
18
19
20
21
22
from vllm import LLM, SamplingParams

# Sample prompts.
prompts = [
    "Hello, my name is",
    "The president of the United States is",
    "The capital of France is",
    "The future of AI is",
]
# Create a sampling params object.
sampling_params = SamplingParams(temperature=0.8, top_p=0.95)

# Create an LLM.
llm = LLM(model="facebook/opt-125m")
# Generate texts from the prompts. The output is a list of RequestOutput objects
# that contain the prompt, generated text, and other information.
outputs = llm.generate(prompts, sampling_params)
# Print the outputs.
for output in outputs:
    prompt = output.prompt
    generated_text = output.outputs[0].text
    print(f"Prompt: {prompt!r}, Generated text: {generated_text!r}")
4 踩坑记录
1. build wheels 失败
直接从github clone 了最新的仓库,执行 pip install -e . 安装依赖时报错记录如下:
1
2
3
4
note: This error originates from a subprocess, and is likely not a problem with pip.
ERROR: Failed building editable for vllm
Failed to build vllm
ERROR: Could not build wheels for vllm, which is required to install pyproject.toml-based projects
尝试的方法有:
- 为系统安装编译依赖:
sudo apt install -y ninja-build cmake git g++ python3-dev - 直接使用正常编译方式:
pip install . - 添加 CUDA 等的环境变量
在网上找了一些方法都没有用,可能和vLLM版本有关,最好用已有的稳定版本。
2. Hugging Face 下载超时
在运行的时候出现以下报错,由于服务器连接不上 https://huggingface.co。
1
requests.exceptions.ConnectTimeout: (MaxRetryError("HTTPSConnectionPool(host='huggingface.co', port=443): Max retries exceeded with url: /facebook/opt-125m/resolve/main/config.json (Caused by ConnectTimeoutError(<urllib3.connection.HTTPSConnection object at 0x7f02bb397910>, 'Connection to huggingface.co timed out. (connect timeout=10)'))"), '(Request ID: 6f4012b5-b44e-4189-8ccf-76fee1848336)')
可以在本地下载好模型,传到服务器上:
1
2
3
4
from transformers import AutoTokenizer, AutoModelForCausalLM

AutoTokenizer.from_pretrained("facebook/opt-125m", cache_dir="./opt-125m")
AutoModelForCausalLM.from_pretrained("facebook/opt-125m", cache_dir="./opt-125m")
注意这种方式用 huggingface_hub 下载了 snapshot 格式模型,并没有自动 unpack 到真正可以用的格式。真正的模型文件一般在该目录下:opt-125m/models--facebook--opt-125m/snapshots/<commit-id>/。里面有 config.json 、tokenizer.json 等文件。
3. _C.abi3.so: undefined symbol
1
2
3
4
5
6
7
8
9
10
INFO 09-09 16:31:07 __init__.py:207] Automatically detected platform cuda.
Traceback (most recent call last):
  File "/usr/lib/python3.10/runpy.py", line 196, in _run_module_as_main
    return _run_code(code, main_globals, None,
  ...
  File "/usr/lib/python3.10/importlib/__init__.py", line 126, in import_module
    return _bootstrap._gcd_import(name[level:], package, level)
  File "/home/yyf/vllm-ascend-dev/vllm/vllm/platforms/cuda.py", line 15, in <module>
    import vllm._C  # noqa
ImportError: /home/yyf/vllm-ascend-dev/vllm/vllm/_C.abi3.so: undefined symbol: _ZN3c106ivalue14ConstantString6createENSt7__cxx1112basic_stringIcSt11char_traitsIcESaIcEEE
可能和 wheel 有关,编译时报错。需要下载对应版本的 .whl 文件,比如 vllm-0.7.3-cp38-abi3-manylinux1_x86 _64.whl,然后设置环境变量:
1
export VLLM_PRECOMPILED_WHEEL_LOCATION=./wheel/vllm-0.7.3-cp38-abi3-manylinux1_x86_64.whl